


Building a Family Photo Album: A Step-by-Step Plan
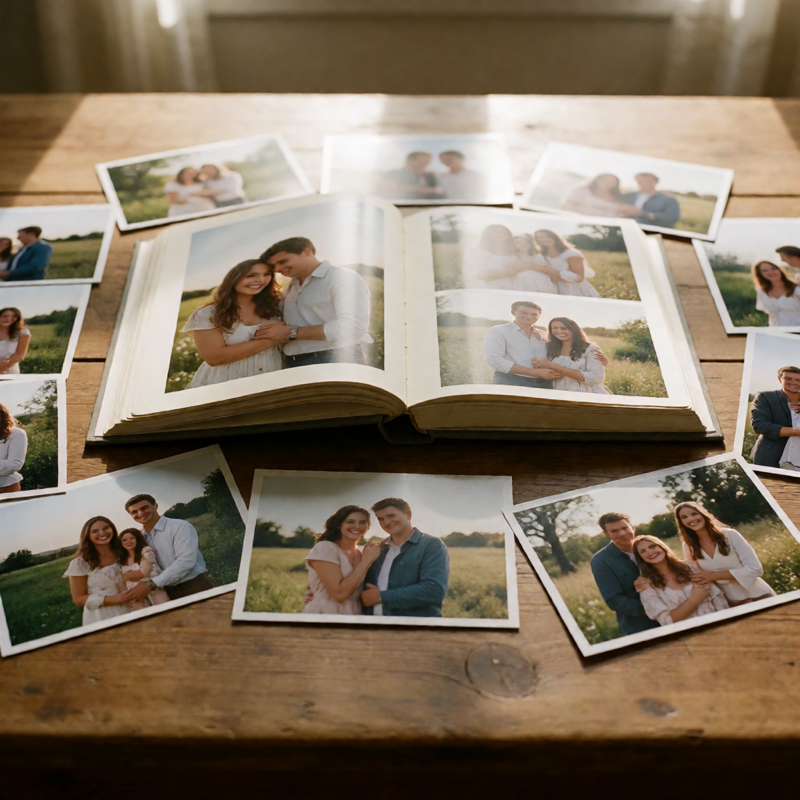
Photo album projects fail for one reason: people try to build the whole thing in one pass. The work goes in a specific order, and each step gets easier if the one before it is finished.
Step 1: Decide what the album is about
"All our photos" is not a subject, and trying to include everything is what makes albums stall. Pick a scope you can finish: one year, one trip, one person's childhood, one season of a family's life.
Write the scope on a piece of paper and keep it next to you. It is the only thing that lets you say no to a photo later.
Step 2: Gather before you choose
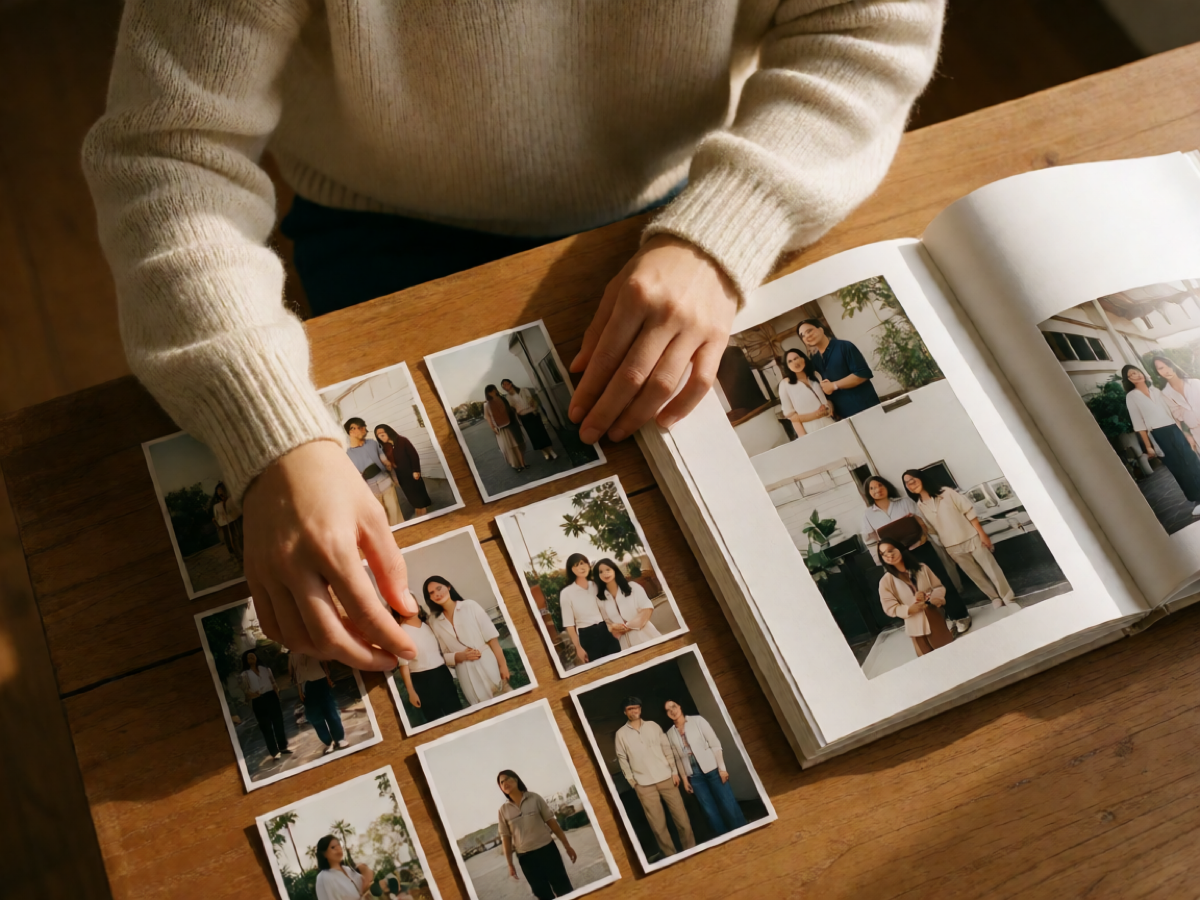
Collect everything into one folder first, including phone photos, scans, and anything a relative sent you. Do not organise during this step. Gathering and choosing are different jobs, and doing them together is the slowest possible way.
Expect this to take longer than you think, and expect duplicates. Phone backups and cloud albums mean the same photo often exists three times.
Step 3: Choose, in one sitting
Go through the folder once and move keepers into a new folder. Use one rule: if a photo would not be missed, it goes. Roughly aim for ten to twenty photos per spread section rather than per page.
It helps to sort by event or date rather than by how good each photo is. A slightly blurry photo of the right moment is worth more in an album than a sharp one of nothing in particular.
Step 4: Sequence, don't decorate
Put the chosen photos in order before you open any layout tool. Chronological order is easy and always works. If you want a narrative, group them into chapters — preparation, the day, the aftermath — and let each chapter fill a few spreads.
Only now decide where text goes. A caption that names people, places and dates is worth more in ten years than a decorative quote.
Step 5: About the layout
Keep it simple. Two or three photos per page, consistent margins, and one accent colour. The most common mistake in a first album is trying to make every page different; consistent pages read as a book, and inconsistent ones read as a scrapbook.
Leave white space. A spread with four large photos and generous margins looks calmer than one with nine small ones, and it prints better because nothing is crowded against the trim.
Step 6: Check before you order
- Every page is the size you intended, and no photo runs to the very edge unless you want it cropped.
- Resolution: photos used at full page need far more pixels than thumbnails. A phone photo across a whole page will usually look soft.
- Names spelled correctly, especially in captions for older relatives.
- Dates in one format throughout.
- Spine allowance if it is a bound book rather than loose pages.
Step 7: Order one first
If you are buying more than one copy, print a single copy first. Paper, colour and binding all look different in the hand than on a screen. Adjust, then order the rest — especially if you are giving them as gifts.
How long this actually takes
Gathering and choosing is most of the work and most of the delay. Sequencing is a single evening. Layout is quicker than people expect once the order is fixed. Budget two weekends for a family album, and put the date on the calendar — an album without a deadline usually takes a year.