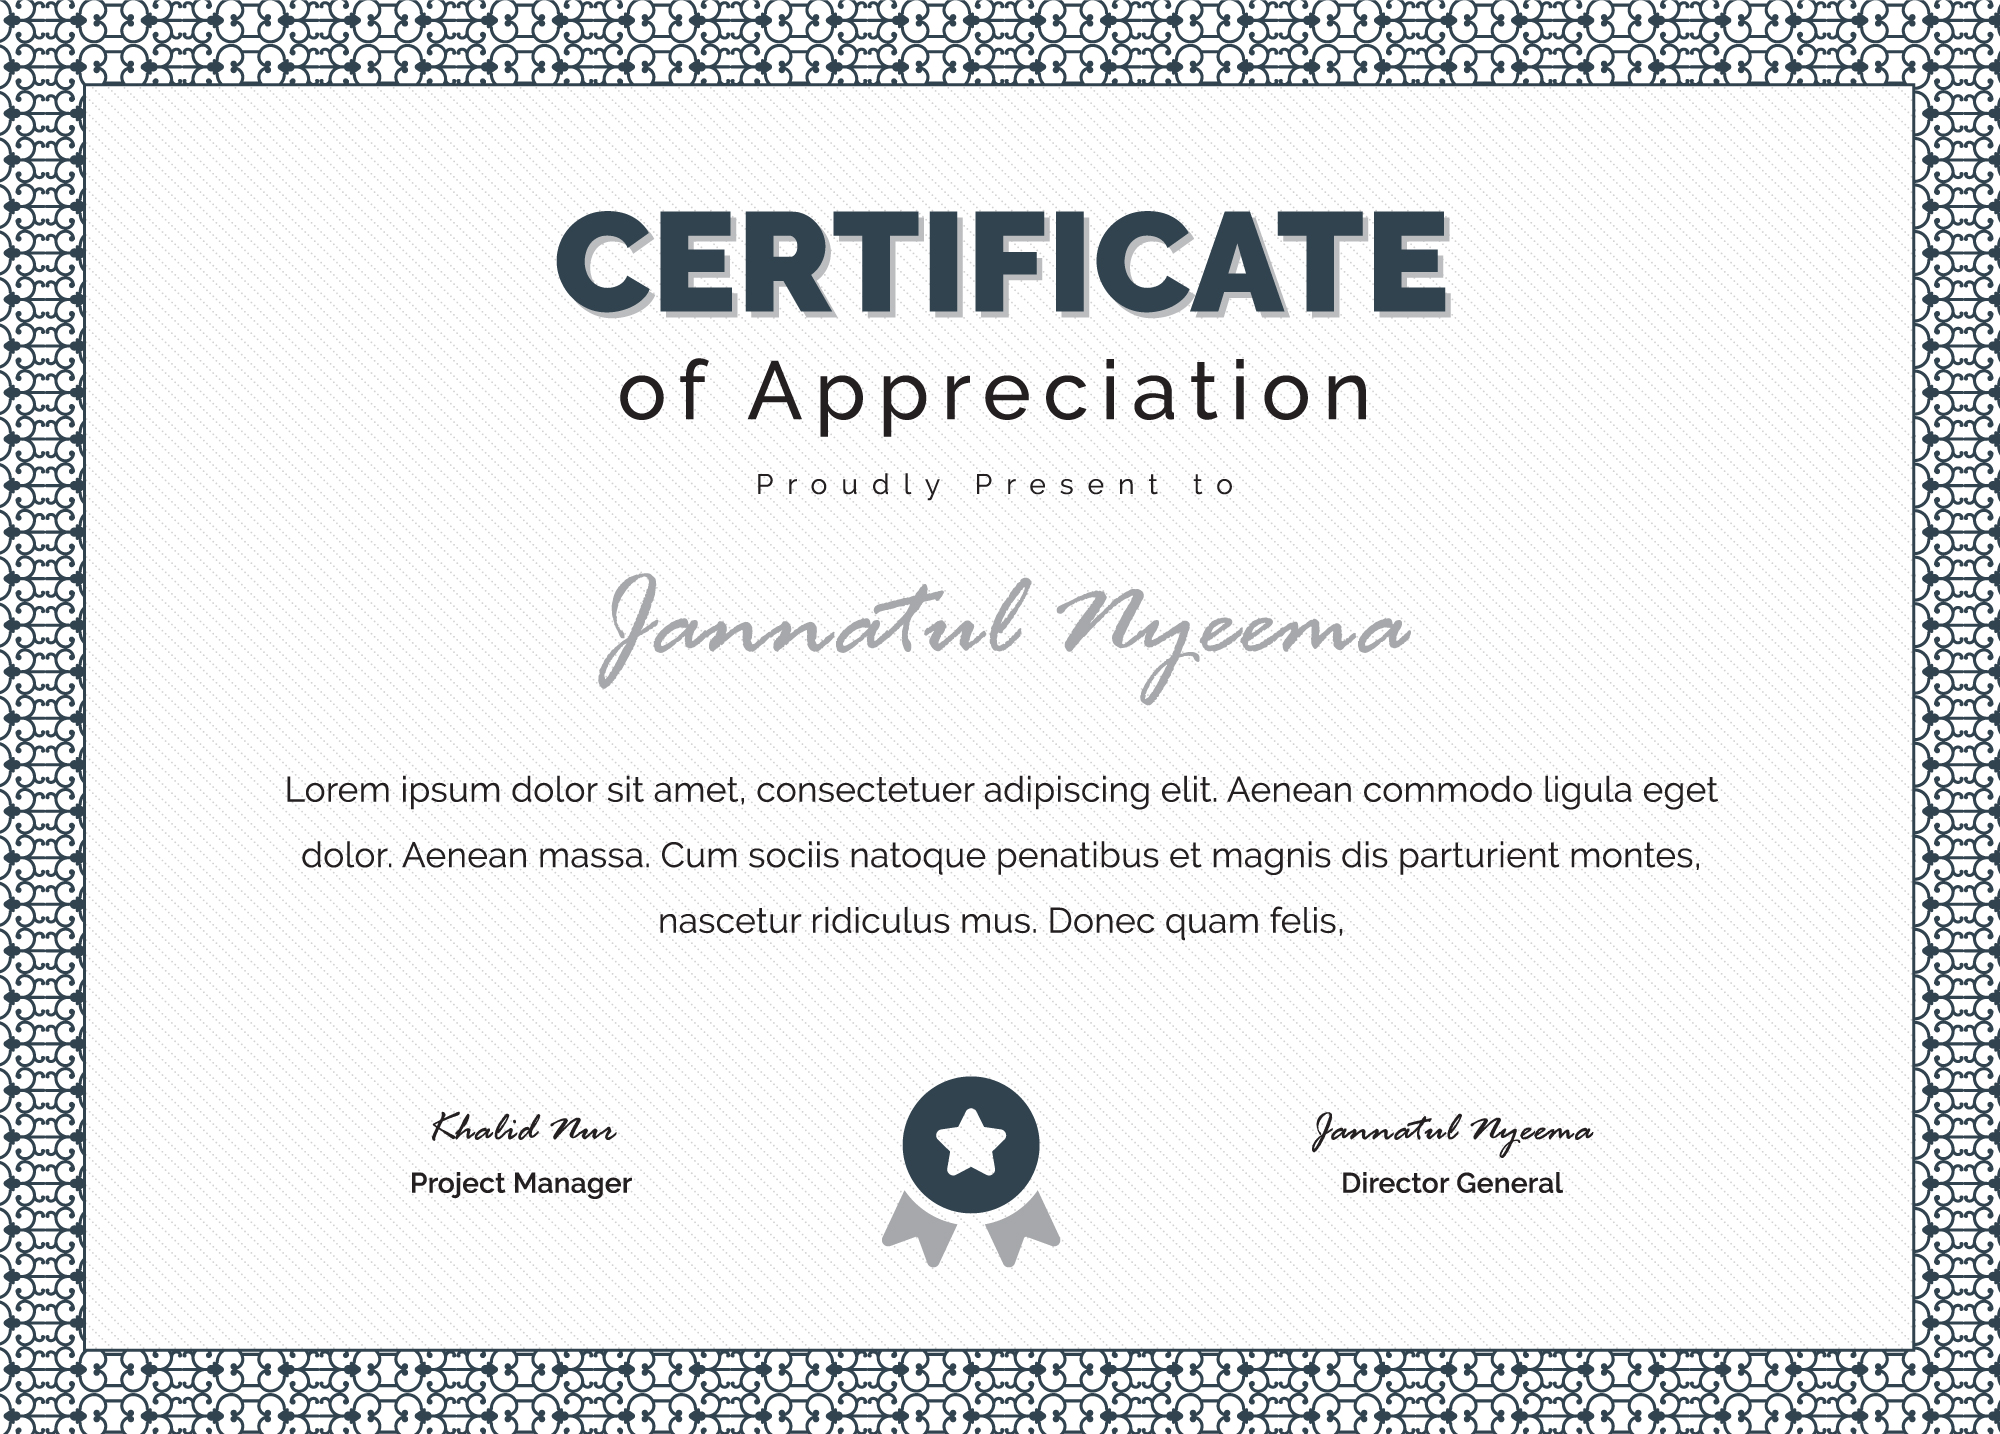


How to Set Up a Certificate of Completion in Canva Without a Subscription
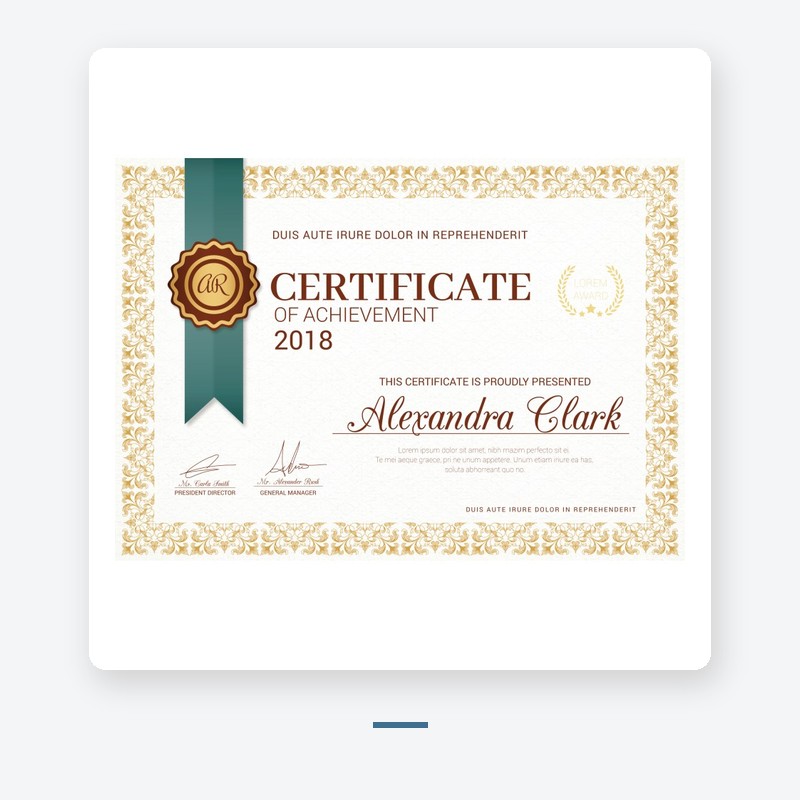
A certificate of completion is the one printable that most people get wrong. It looks fine on screen, and it does not print the way it looks. This guide is the free Canva workflow that gets you a certificate that survives being pinned to a wall.
Search the template by size, not by style
Before you browse, decide the paper size, A4 portrait or landscape, or a specific centimetre size. Then search Canva templates with that size locked. The style is the second decision. A template that is the wrong size will be cropped or stretched when you print it, and that is the most common reason a certificate looks cheap.
Three text elements, not five
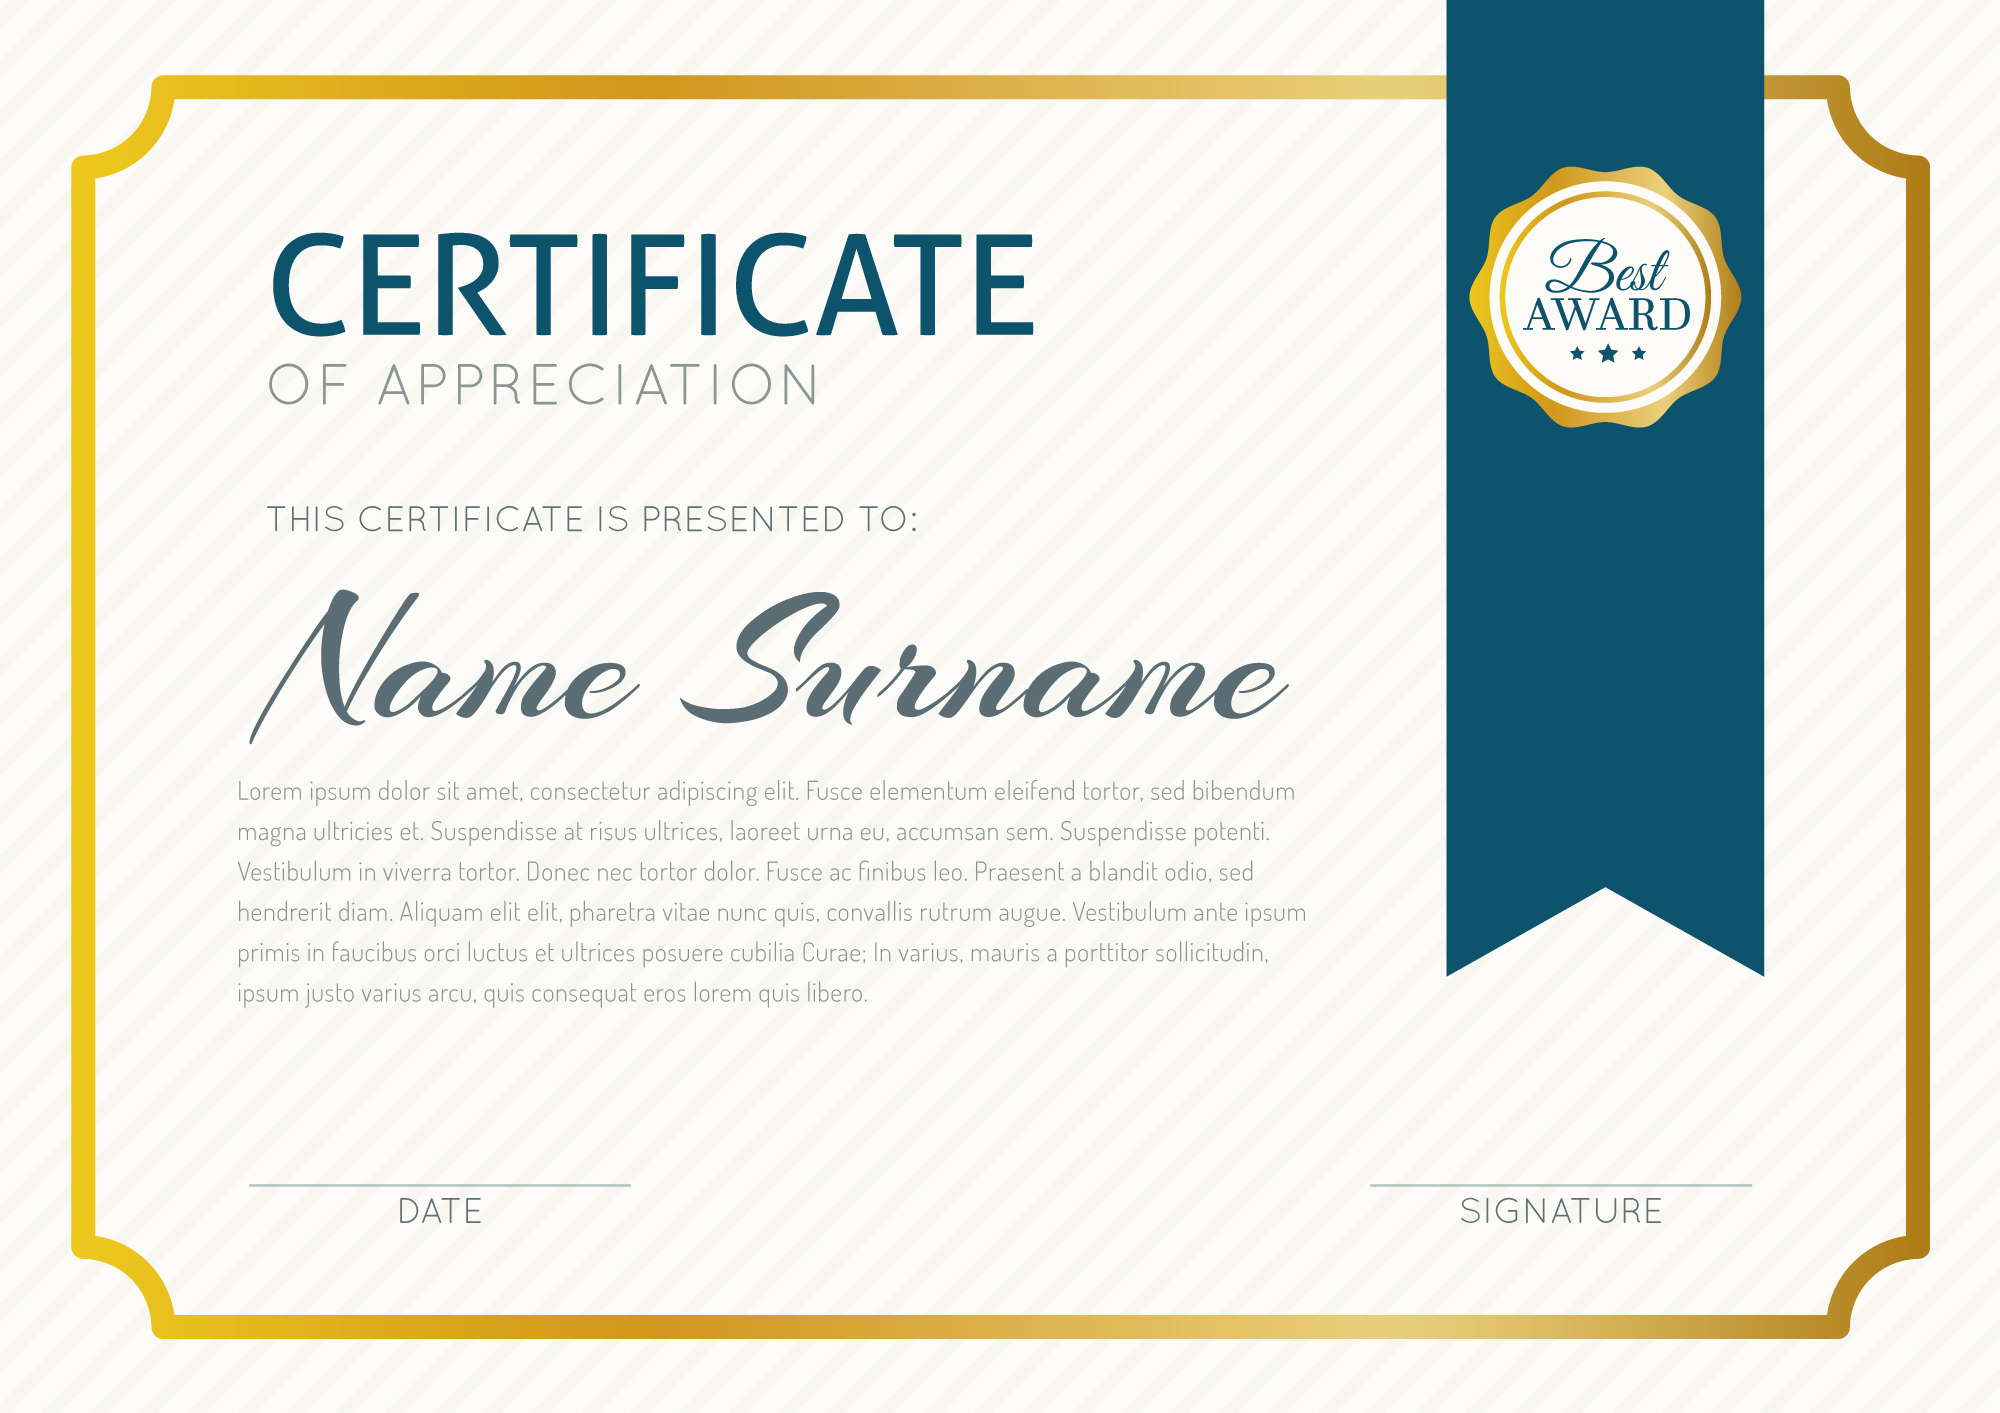
The hierarchy is: the name, the achievement, and the date. Everything else is decoration. If your certificate has five text boxes, one of them is not doing a job. The name should be the largest element on the page, by a clear margin. The achievement line, certified that, is the second. The date and the signature line sit below, smaller. A free Canva template will have exactly this structure. Any template that does not, is the one to skip.
Export at 300 DPI
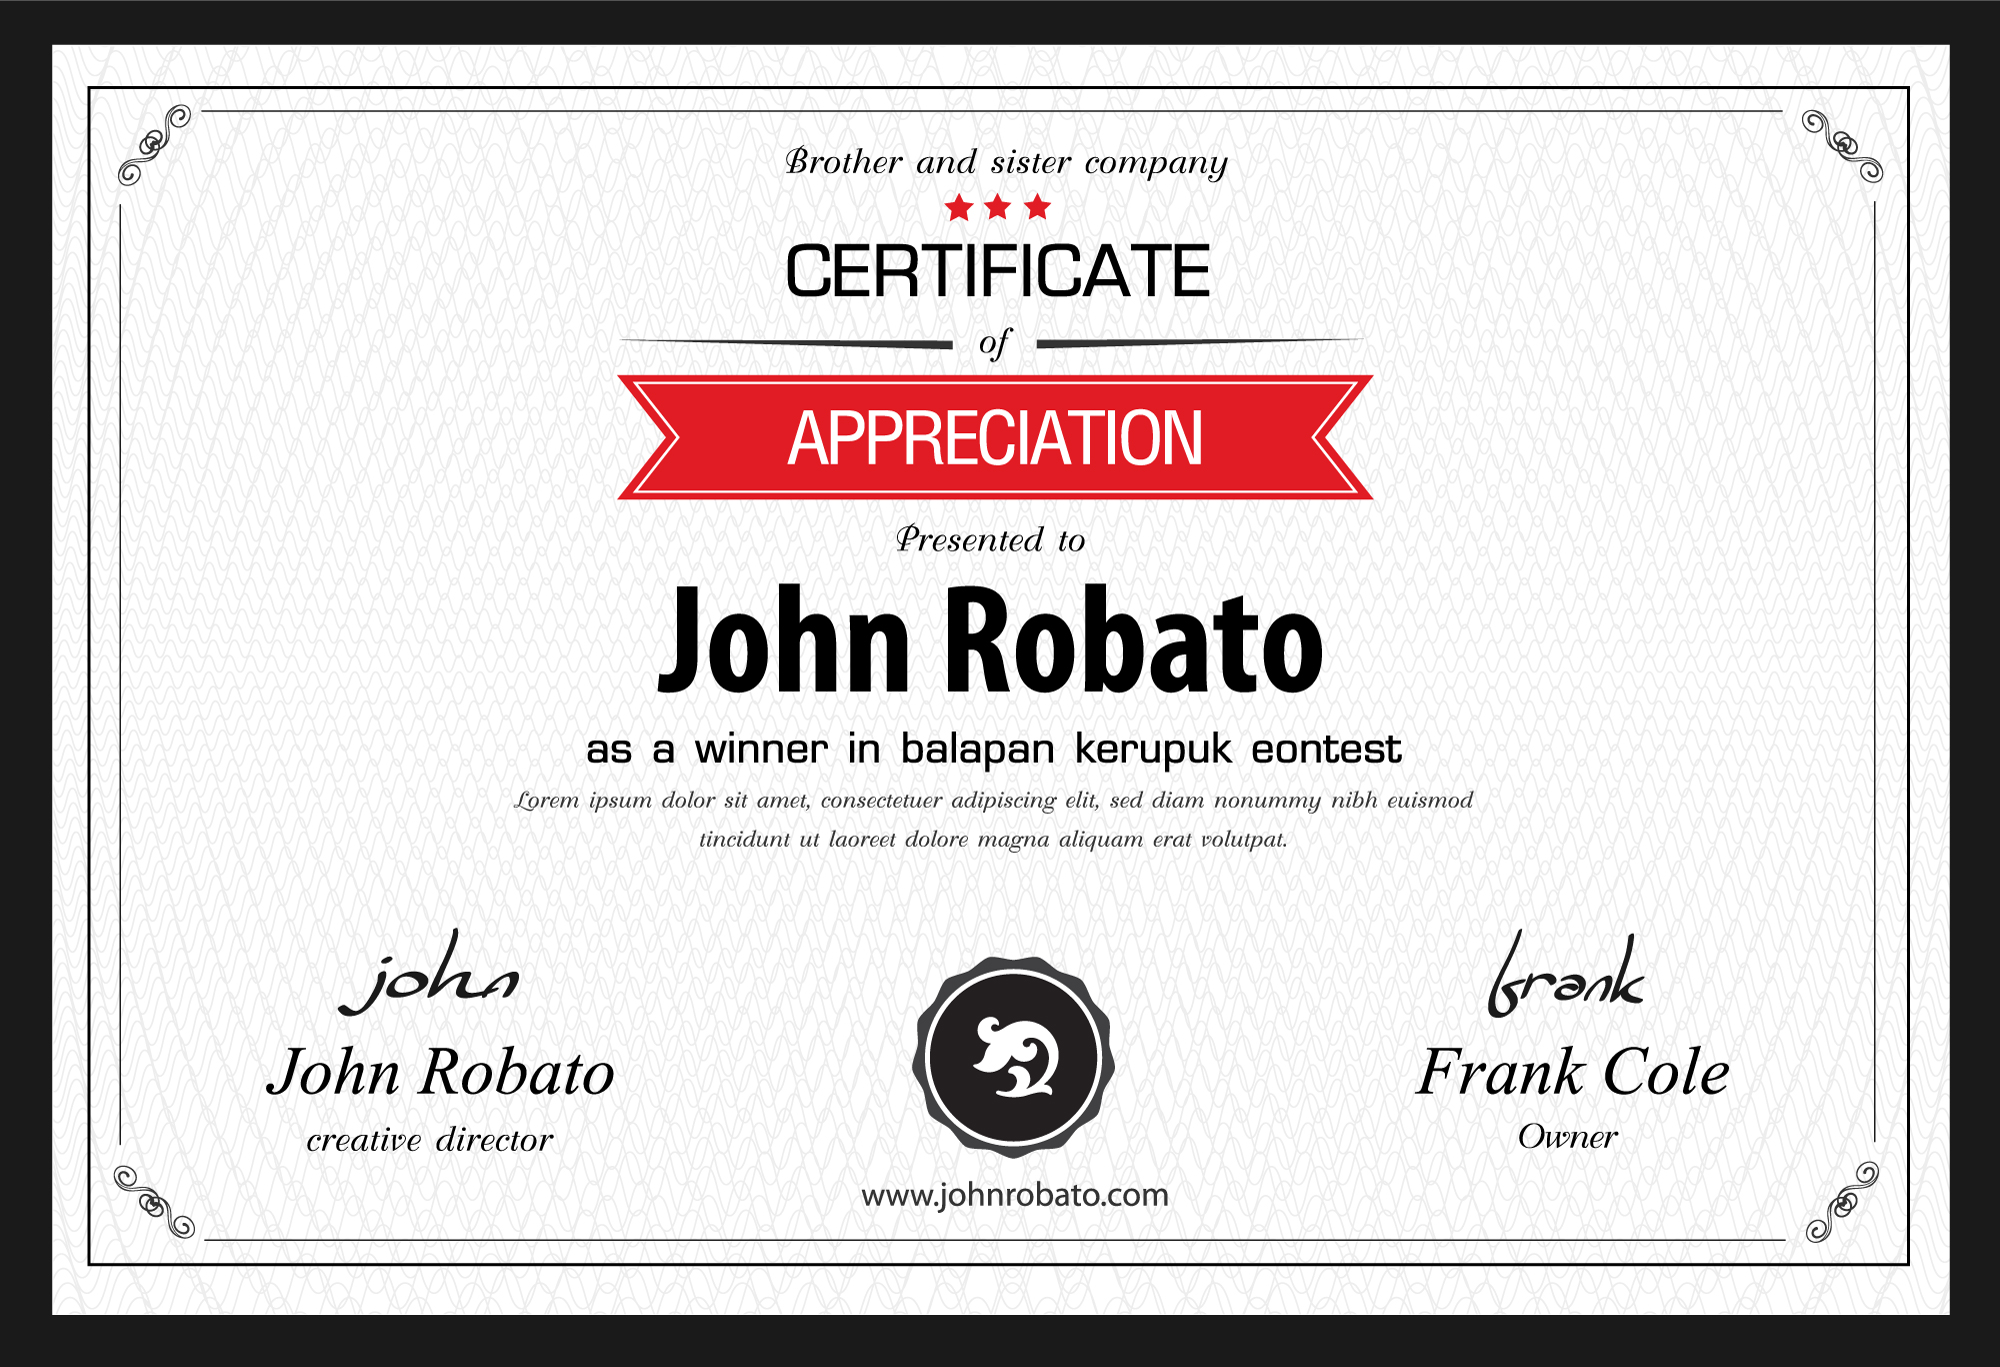
The export step is where the free version and the paid version split. In free Canva, choose the PNG export, not the PDF, and set the size to full. The PNG will be large on disk, but it will print clean. For a certificate you will reprint every year, that trade is worth it. The one setting that keeps the file a reasonable size is the PNG compression, set it to the default, not the maximum. See the Certificates & Awards category for the pre-made certificates that already carry the three-layer text hierarchy, so you only have to swap in the name.